Basic Candle Making Instructions
Introduction to the Art of Chandler
Making your own candles can be a lot of fun. These basic candle making instructions are very simple to follow and provide a wonderful activity for yourself or a group. The art of the chandler can be used to create simple candles that can be used for lighting ambiance or to delicately scent the area with the delicious honeyed aroma of beeswax. Each candle is uniquely handcrafted and provides even the beginning chandler, or candle maker, with the ability to express their creativity and make gifts that are both beautifiul and practical.
Deciding on the Kind of Wax
The first thing you must decide is what kind of wax you want to make the candles out of. Some people like to save old wax and try to recycle it. For a nice scent, you can use beeswax. Or, you can just try using a straight paraffin wax. One thing you will notice is that some waxes are harder than others. Harder waxes tend to burn hotter and melt less. If you use a softer wax, you will notice that there is a lot of waste and dripping. So, most often, the best solution for making candles is to make a blend of equal portions of beeswax and paraffin.
Other types of waxes are derived from plants and are available for those who are interested in advanced candle making techniques or who are involved in living history reenactment groups. Bayberry candles were made from the wax obtained from the berries of the wax myrtle or bayberry tree. These special candles are often used during the Christmas and New Year holiday season. Many households burn bayberry candles at midnight for good luck during the next year. The wax is made by collecting about twenty pounds of the berries of the bayberry (Myrica faya), or wax myrtle, tree which will produce just over one pound of bayberry wax. The berries are placed into boiling water which causes the wax to collect on top of the water. This wax is then skimmed off the top and collected for use in making candles.
There are other kinds of wax that are available to the contemporary chandler, such as soy and gel, waxes that have become very popular alternatives to beeswax and paraffin. All beginning chandlers should be aware that both soy and gel waxes have special requirements and must be made in a container instead of being dipped due to their low melting temperatures.
Soy wax is a type of wax that is derived from plant-based materials and comes from the soybean.
Gel waxes are manufactured from mineral oil and require special
zinc wicks that allow them to burn properly without becoming inundated by too much of the gel.
Optional Supplies
Candle Dyes
- Candle Glaze
Candle Scents
Wick Cutter
Wax Cleaner
Wax Thermometer
Required Supplies
1 to 2 lbs. Wax (Minimum)
Wick Material
- Scissors
- Sharp Knife
- Wooden Spoon
- Double Boiler
Heat Source
- Water
Creating a Hot Pot for Melting Wax
Next, you will need two containers: one large pot and another vessel that will fit inside. There are several considerations that you will need to have when choosing your containers. The first is that they must both be able to withstand boiling temperature. The outside container must be big enough so that you can fill it with water and place the inside container so that it is halfway submerged. The next consideration is that the inside container will determine the amount of wax available, and the height of the candle. Possible solutions that I have experienced include using an old electric frying pan with a #10 can, an old
cast iron pot hung over an outdoor fire, and a large Pyrex glass cylinder inside of a
stock pot.
You will need to create a double boiler that is large enough to melt your wax without scorching it; however, the containers will get soiled by the wax and therefore anything that you use should be either disposable or dedicated to making candles. Also, the length of your candle will be determined by the height of your wax pot so this should be kept in mind during the selection process.
One word of caution.... Keep in mind that the containers that you decide to use for this process to create the double boiler will become covered in a wax residue from now till eternity. Do not use your favorite cooking pots because they will probably get ruined.
Wax Melting Procedure
A heat source will be required for making candle because you need to melt the wax and keep it hot. There are many possible options for heat sources that range from the stove top to an open fire; however, my personal preference is the use of an electric skillet. I prefer the electric skillet because I can control the temperature and it has the added benefit that I can transport it easily. It should be emphasized that the melting wax can, and most assuredly will, splatter and therefore anything that is used to make candles will get exposed to residual wax that inevitably seems to contaminate everything.
Once you have decided on your heating source, your next step is to place a larger container on the heat source, partially fill it with water, and allow the water to boil. Place a secondary container, which will become your wax pot, inside of the first container. This creates a double-boiler. Begin slowly filling the wax pot with wax chips or slices so that the wax melts slowly and evenly. The heating of the wax must be indirect, and you will need to occasionally stir the hot wax with a stick, or wooden spoon, to make sure that all of the wax melts and stays in a hot liquid state. Do not let the water in the primary container boil over flood into the secondary container. Adjust the temperature of your heat source if the water starts to boil rapidly.
Selecting the Wick
The material for a wick is easy to find and there are plenty of options available. Even cotton kitchen string, which is sold in most grocery stores, can be used as wick material. Natural materials that will absorb and burn the wax are preferred and these include common materials such as hemp and cotton. According to the National Candle Association, there are four different types of commercially manufactured candle wicks: flat wicks, square wicks, cored wicks, and specialty wicks. These wick varieties have different shapes and are comprised of different materials that are suited to a particular purpose of type of candle. Dipped taper candles do not require any specialized materials and therefore you can use almost any kind of wick that is able to safely burn. For those who prefer to use commercially manufactured candle wicks, these supplies can be purchased at most craft stores.
Single and Double Dipped Candles
Candles are usually dipped as either a single or dual pair of tapers. If this is your very first time dipping a candle, then you will probably want to only work with a single candle taper. Once you have experienced the candle dipping process, it is suggested that you use the dual taper procedure.
The Single Taper Method
-
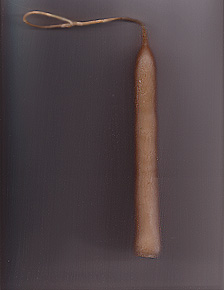
Cut a measure of wick that just over a one foot long. A taper is between 9 to 12 inches long and you will need an additional 3 to 5 inches to hold the wick; therefore, the length of wick required for a single candle taper is between a 1 to 1.5 feet long. You do not need to measure the length as it is only an estimate and any reasonable size will work.
-
Tie a loop at one end of the wick. This loop works like a handle and can be held by hand or even attached to a dipping stick if the heat source used for the wax is uncomfortably hot.
-
The wax should be hot and completed melted. Once it is ready, you can begin to dipping the string into the wax. Dip the wick into the wax so that it is about one inch or so longer than the desired length of your candle. During the initial dip, you might need to let the wick float on the surface of the wax as it might resist being dipped.
-
Pull the wick out of the wax pot. While the wax on the wick is still warm, you will need to pull and straighten the length of the wick. This initial process will make dipping the candle into the wax easier; however, if you continue have difficulty and the wick refuses to submerge into the hot wax is then you will need to tie a metal washer or other small weight to the bottom of the wick. This will weigh the length of the wick and also help to keep the taper straight. Eventually, the weight will need to be cut off after a sufficient number of layers have accumulated onto the wick.
The Dual Tapers Method
-
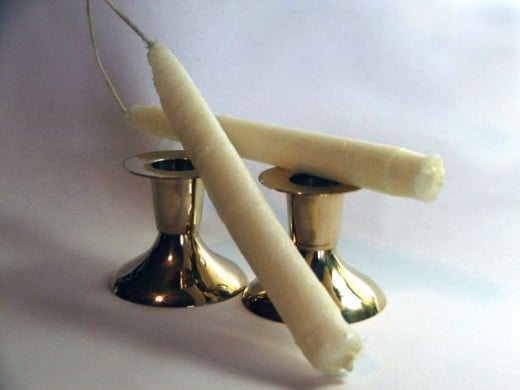
Just like the single taper method, you will need to cut a wick that is long enough to dip both of the tapers. Most candle tapers are approximately 9 to 12 inches long plus an area that can be used to hold onto the wick. Therefore, the length that is required for a pair of tapers would be approximately two feet long.
-
Find the center of the wick and use this demarcation to fold the wick in half.
-
Once the wax is hot, you can begin dipping the wick into the wax to make your first coat. Refer to the single dipping techniques on how straighten the wick.
-
The two ends of the wick will each hold their own candle taper. The preferred method that use used to dip the candles into the wax is to hang the tapers over the tops of one or two fingers and then simultaneously dip both tapers into the hot wax. Alternatively, you can hold the center of the wick and then use the pinky finger and thumb to hold the tapers out widely from each other and then dip them into the wax together. It is very difficult to only dip one side of the conjoined tapers and doing so can cause the opposing side to bend; therefore, it is not suggested. If you are double dipping, then you need to dip both candles together at the exact same time. If this becomes difficult, then you can always use a pair of scissors to cut the center and separate the tapers.
Simple Candle Dipping Techniques
The basic rhythm is to dip the string into the wax and then wait about five to ten seconds for the wax to cool. You need the wax to cool between each dip so that it will properly adhere to each subsequent layer. Otherwise, you will actually begin to remove wax because it will melt away into the pot. There are a few things that you will need to monitor during the dipping process to ensure that the candle looks and functions correctly: keep the taper straight, make sure the coats are smooth, and trim the ends.
Straight Candle Tapers
-
The first is that the candle need to remain straight. The first half of the dipping process is crucial for this and you will need to make sure the string stays straight and taut. In the beginning, after every three dips, you will need to gently straighten the candle.
Smooth Wax Coats
-
Keep the wax coats smooth and consistent. You do not want any lumps or abnormalities. If the candle begins to look wonky, then you can "soak" the candle in the hot wax to remove the surface area that is causing the problem. Let the candle cool after removing the anomalies and then beginning the dipping process to rebuild the lost layers.
Trim the Bottom
-
During the dipping process, the candle will build up a wax bulb. Use a sharp knife to cut and shear off the end of the taper. You will need to repetitively trim the end of the candle. The bottom of the taper should be trimmed flat and be cut to the end of the wick; but, you should not cut through the wick. Do not worry if you accidentally cut the wick. If you do cut the wick, there is no damage caused to the candle and the only result of the shearing is a shorter taper.
Advantages of Using a Water Bath
Once you get accustomed to the dipping process, you can set up a container of cold water where you can dip the candle and then spin it gently in the air. To spin the candle, you want to move it in a circular fashion that resembles the "around the world" yo-yo trick from our childhood. In the beginning, using a water bath can be challenging. Most chandlers find that this process assists them with making candles and produces a superiorly crafted product.
Pros of a Water Bath
-
This will do several things: By dipping the candle into a water bath it will cool the outside of wax quicker so that you can begin applying additional layers. Additionally, the water produces a glossy sheen on the candle.
Cons of a Water Bath
-
There are a few problems that can occur if you decide to dip your candle in water. If you do not properly remove all of the water during the aforementioned spinning process then you might have water bubbles that could disfigure the smooth texture of your candle. The trapped water inside the candle wax can also cause it to make spitting and popping noises each time that you try to burn the candle.
Hanging the Candles to Cure
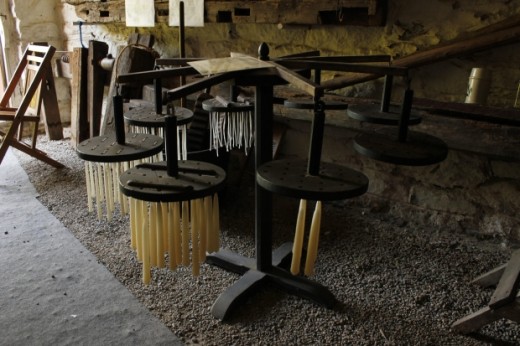
Finally, you will need to hang your candles for a few days before storing them to make sure that they are sufficiently dry. This allows the candle wax to cure. Depending on how you dipped your candles, there should be a way to easily hang them from a nail, hook, or even a tree branch. Once the candles have dried, you can then trim the wicks with a pair of scissors or designated wick trimmer. If needed, or if you have not already done so, you can also use a sharp knife to trip the bottom of the candle so that it is flat and will burn easily.
Single Candles
-
A single candle usually has a loop on end with the wick and this leftover dipping loop can be used to hang the candle from a peg.
Double Candles
-
Most candles are dipped in pairs with a candle on each side of a very long wick. Between the two candles there is normally one to two inches, or more, of uncoated wick that shows. These candles can be safely hung from this center point and the candles will normally hang freely and not touch each other.
Advanced Tips and Tricks
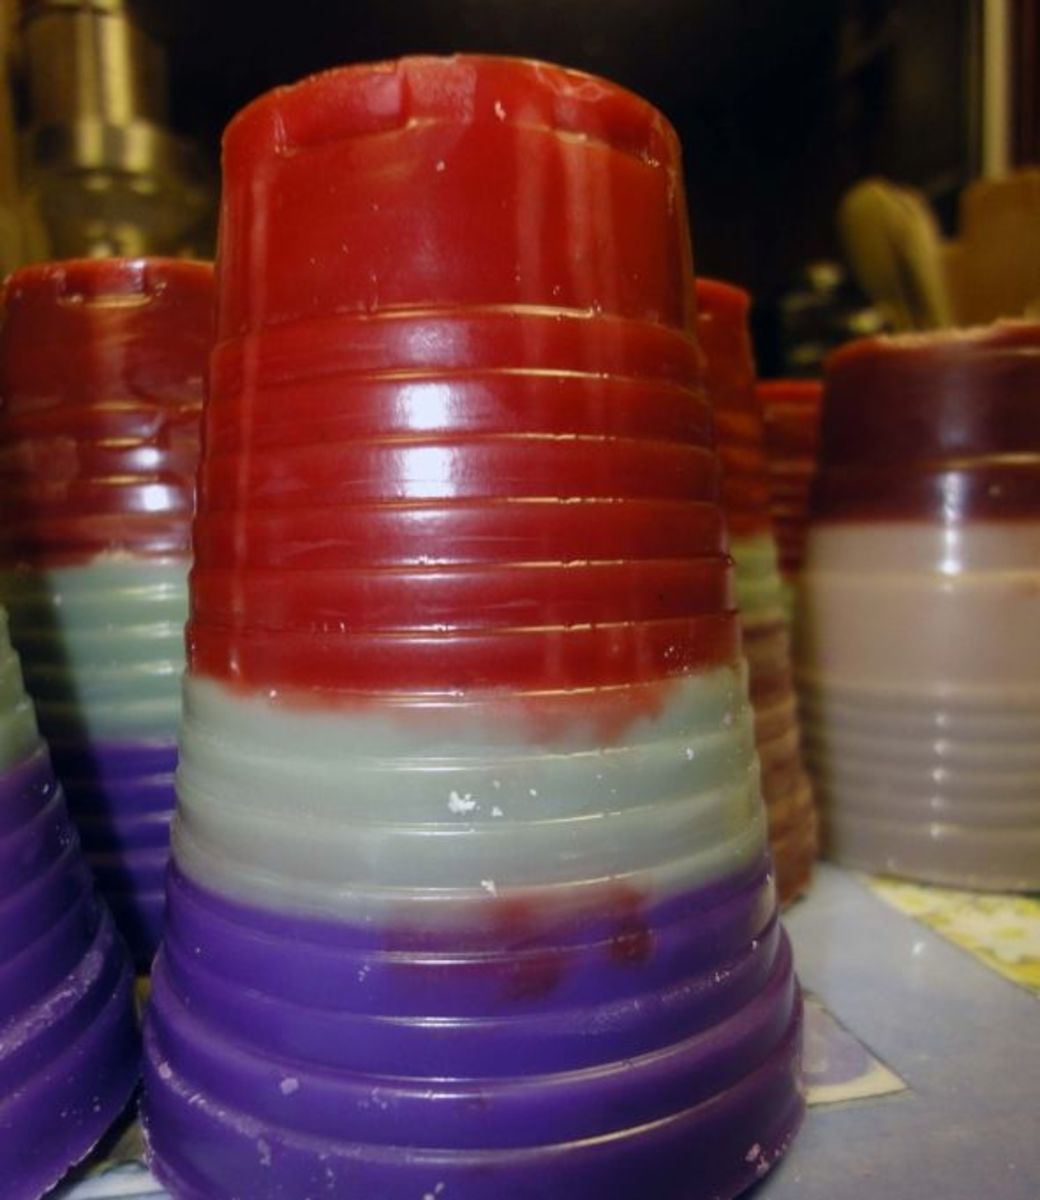
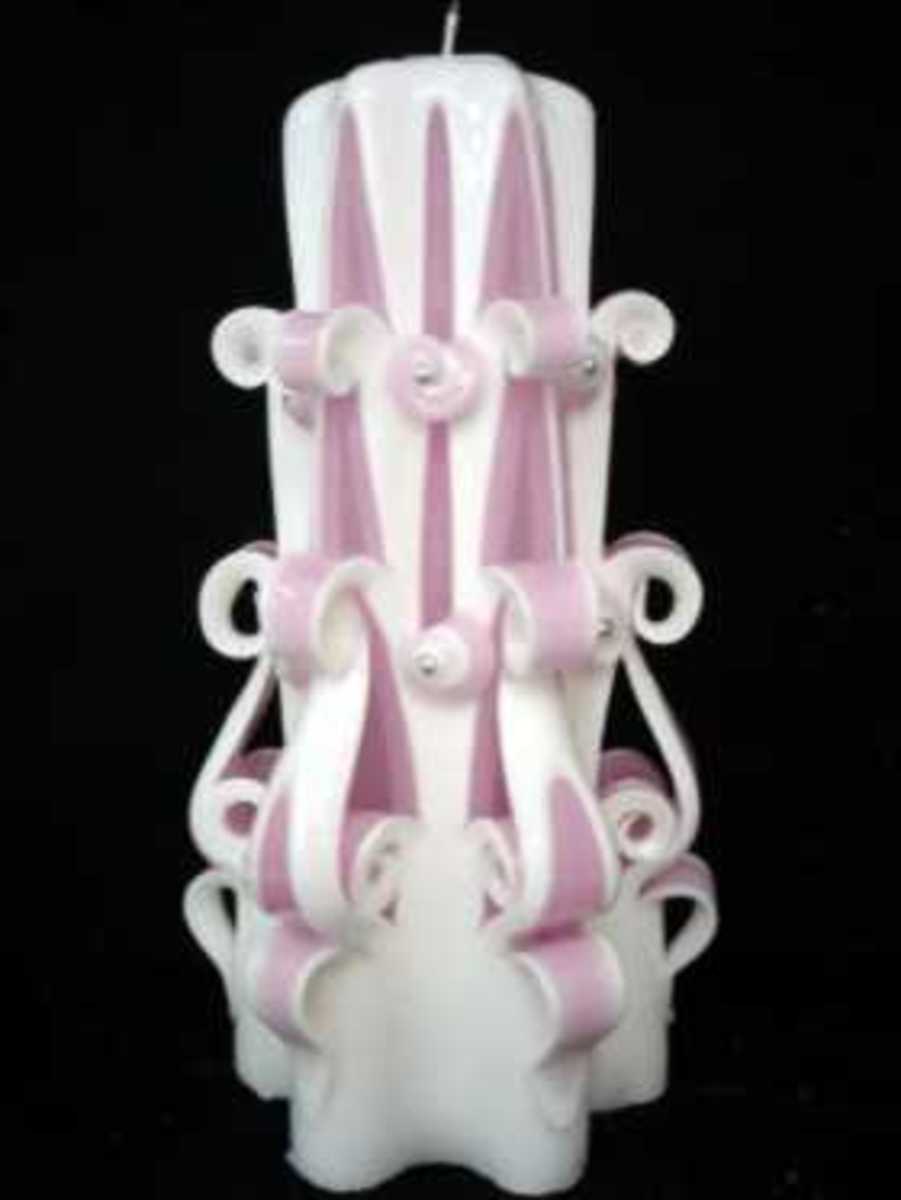
There are lots of different tips and tricks that can be implemented during candle making to add artistic flourishes, smells, and colors to your candles. Within each of these techniques, you can begin to experiment and try new techniques and even develop some of your own. Even tapered candles can be layered with different colors and carved while the wax is still warm to create bright sculptured tapers. The best advice when it comes to making candles is to be creative and experiment.
Coloring Candles
-
Use old
crayons to add color to your candles. There are commercial candle dyes that can also be used to dye the wax and are available as concentrated blocks of paraffin that contain the dye, and these color blocks can be melted into the melting pot with your candle wax to dye the entire batch.
Leftover Wax
-
If you have a sufficient amount of wax left over after making candles, there are several ways that you can use it to make more candles. You will need to cut a wick, and weight the bottom of it. Then, go outside and dig a small hole in the dirt. Place your wick inside and hold it up. Then, pour the wax in. You may need to tie the wick to a small twig or other object to keep it upright until the wax hardens. After it is has dried, just dig the wax up and dust it off for use. The other method is to take an old metal or glass container, put the wick in and suspend it, and then pour the remaining wax into the container. Just make sure the container is heat resistant and able to withstand the temperatures associated with having a live flame.
-
After making your candle, the leftover wax can also be saved for use during future candle making sessions. You will need to use a suitable container, such as one made out of aluminum, and then use wax paper to coat the inside of the vessel so that the wax doesn't stick; then, just pour the wax inside and let it cool.
-
Candle wax can also be saved from candles that you burn at home. These shavings and chips of wax can then be melted and used to make more candles.
Scenting Candles
-
When you begin to melt your wax, you can add scented oils or resins. Just make sure that if you use a resin that it dissolves all of the way before you begin the dipping. Also, if you add too much oil, it will soften your candles. Alternatively, there are commercial
candle fragrances that can be purchased and added to the wax during the manufacturing process.
Wax Coats
-
If you are feeling energetic, you can try adding a coat of a harder wax to glaze the candle and protect the outside and make it burn longer. Most candle glazes are available either an aerosol spray or dipping liquid that can be applied as the final coat to seal the candle.
Get a Candle Making Kit
© 2015 Midnight Muse


