Gonnateachyahow: Backing Up Your DVD Collection for Free - Disk to Digital Part 2

Getting this backed up to your computer.

This is Part 2
Hopefully you have read Part 1 of this series. If not here is a link to it please follow these steps to get your DVD copied to the hard drive.
Backing Up Your DVD Collection Part 1
You will be learning in this process how to take the core files you copied from your DVD and convert them into something that can be played almost anywhere, on most of your devices. We will be using a free software application called Handbreak. You can find it by doing a simple google search.
After you have it installed and opened up, please continue.
Handbreak
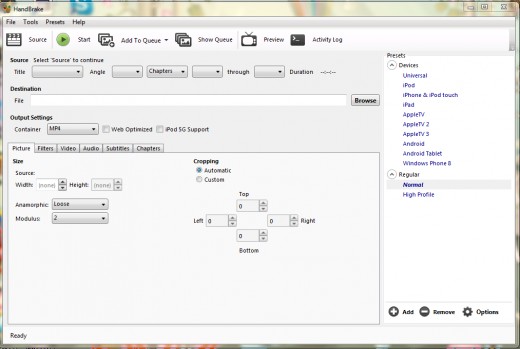
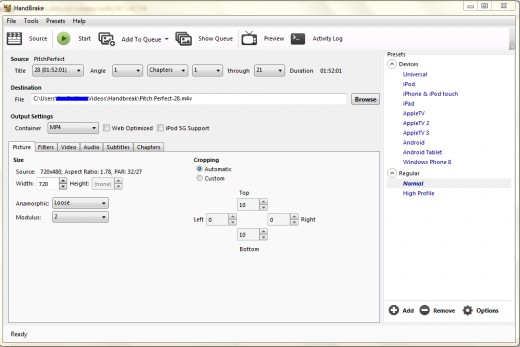
Getting Started
There are a couple things you need to do when you are starting handbreak.
First you want to set your destination drive. This is pretty simple. I would suggest going into your video library and add a directory named "handbreak". This is where you will save your movies.
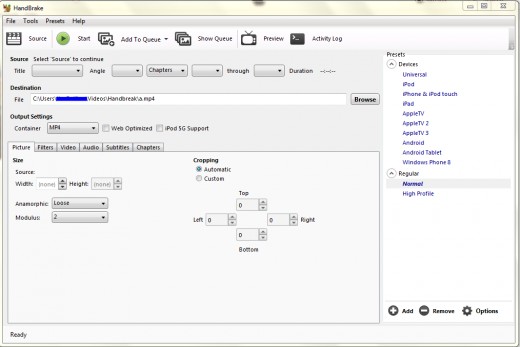
The second step is to assign that in Handbreak. Click on "Browse". Choose the Handbreak folder and name the file "A". This will automatically be replaced by Handbreak when you start the conversion.
Handbreak can convert multiple media formats and is very good at doing so. In this tutorial we are concentrating on DVD files. In part one we used DVDshrink to copy the files to the computer. Movies successfully copied to the computer will always work with Handbreak. Again see part one if you haven't already done so.
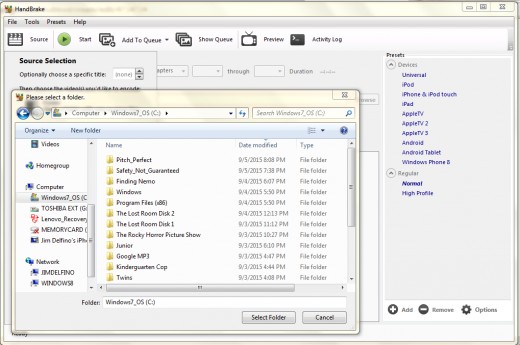
In Part one we saved the files to the directory of "Pitch_Perfect" and you can see it listed at the top of my directory list (I have changed my listing to newest to make it easy to find the files I am looking for).
Select "Source" and "Folder" to see it listed here.
Loading the Core Files
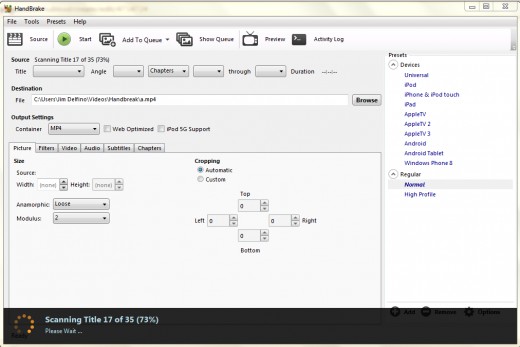
When you select the core folder, Heartbreak will analyze the folder and add the movie to the program for conversion.
Analyzing the Disk
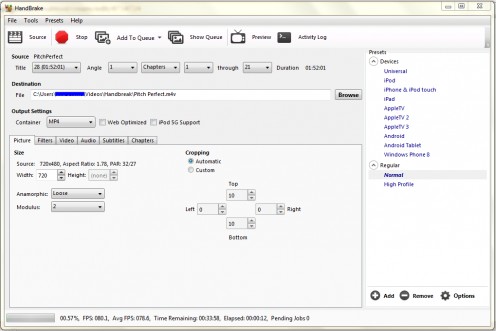
Ready for Fine Tuning
After the movie is ready to convert, you have a few options that you can do here. You can add or change the language, and add a caption to this with the option of either burning in the caption or having if turn on / off (may not work with all players) by command. After you have fine tuned the controls, click start and sit back, most conversions are done under an hour.
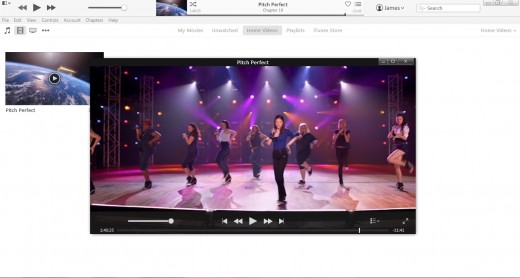
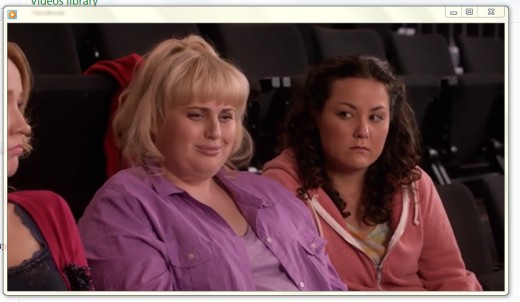
The File
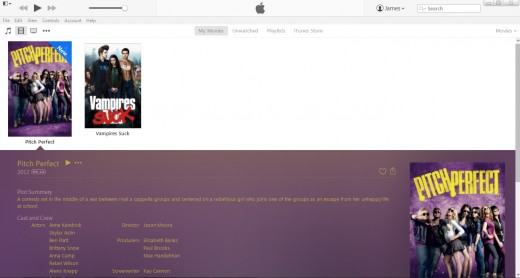
After the file is done, you will have a movie that is playable on most devices. The application defaults in MP4 (M4V) and AVI. I prefer M4V because of the tagging capabilities. (See more about that later). Here are screenshots of the file played on itunes and windows media player.
Itunes
What Next?
After going though all this work, the next step would naturally be tagging it to look like this:
Take a look at my article on Tagging Movies, TV Shows and Music Videos.
Google search "Gonnateachyahow" for more articles on digital media.


